While tickets are primarily for entry, they can be repurposed as a powerful data collection tool. By customizing Ticket Names, you can track specific requirements—such as dietary preferences—directly on your Attendance Sheet.
Phase 1: Set Up Your Activity
Create the Activity: Follow the initial setup guide to define your event date, time, and location.
Phase 2: Create Specific Tickets
Instead of using a generic ticket, create a Ticket Package
1. Activity Summary: Navigate to the Settings tab of your activity.
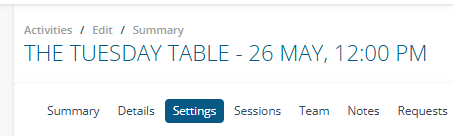
2. Add a Package select + Add Package.

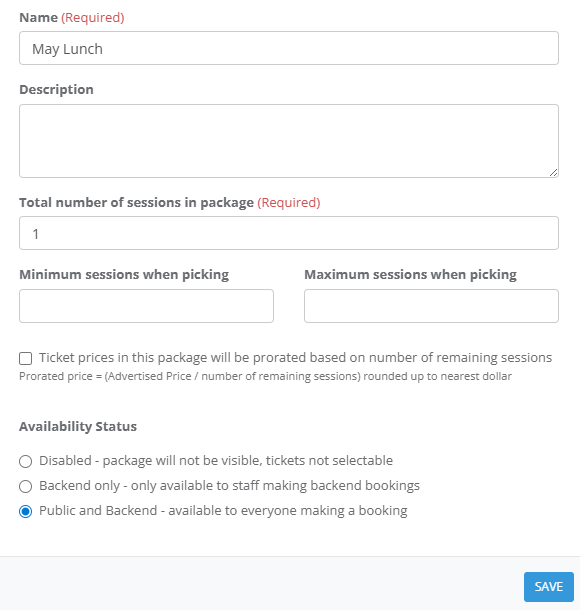
3. Enter a Name (Required): Give the package a clear name, such as "May Lunch" and a Session 1
4. Availability Status: Ensure the ticket is set to "Public and Backend" so it is available to everyone making a booking.
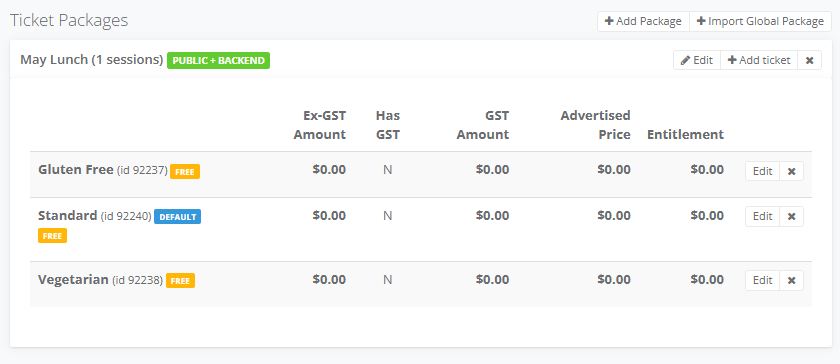
5. Ticket Setup: Add individual tickets for each requirement. For a lunch, you might add:
6. Add Individual Tickets: Create a ticket for every dietary variation you need to track:

- Ticket Type: Select "Free" (or "Paid" depending on your event).
- Name: Enter the specific dietary need (e.g., "Gluten Free", "Vegetarian", or "Standard").
7. Save: Click Add for each ticket type.
Phase 3: Publish and Book
Once your tickets are ready, you must make the activity live to accept choices.
8. Publish: Use the Publishing Guide to make the lunch visible for public or backend bookings.
9. Record Bookings: As participants register, select the ticket that matches their dietary needs. For manual entries, refer to the Backend Bookings Guide.
Phase 4: Using the Attendance Sheet for Catering / Personalising the Service
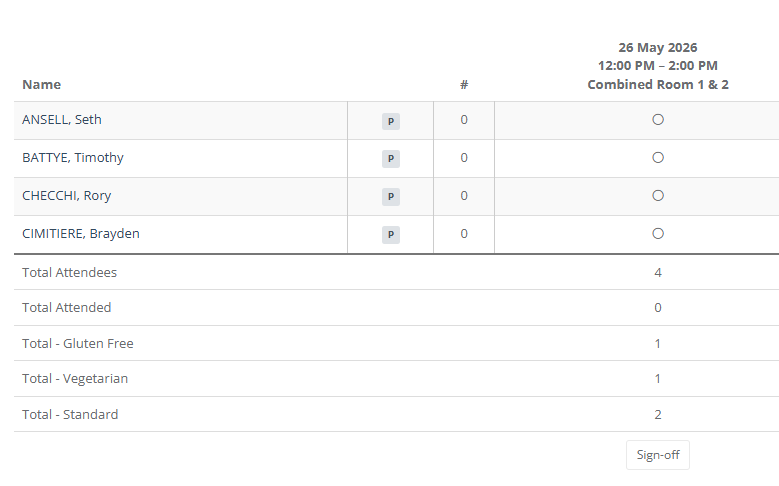
On the day of the event, your Attendance Sheet provides a breakdown of exactly what needs to be served.
1. Access the Sheet: Navigate to the Attendance Sheet
2. Scroll to the bottom of the sheet to see the Aggregate Totals. This gives your kitchen staff the final count for each meal type (e.g., Total Gluten Free: 1, Total Standard: 2).