Providing specific names for your individual sessions (such as guest speaker topics or workshop titles) helps potential attendees understand exactly what each date offers. This is particularly useful for recurring programs where each meeting covers a unique subject.
Why Use Session Names?
Enhanced Clarity: Attendees can see specific topics (e.g., "Financial Independence" vs. "Week 3") directly on your promotion page.
Flexible Bookings: When paired with individual session payments, users can "Pick Their Dates" based on the topics that interest them most.
Professional Presentation: It creates a structured syllabus-style view for your community programs.
Step 1: Add Names to Your Sessions
1. Once you have created your Social Planet activity, follow these steps to label your sessions:
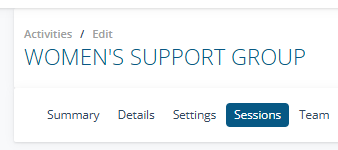
2. Navigate to the Sessions tab within your activity.
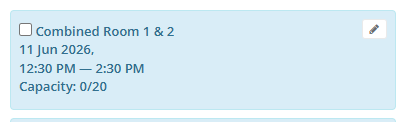
2. Locate the specific session date you wish to name and click the Pencil (Edit) icon.
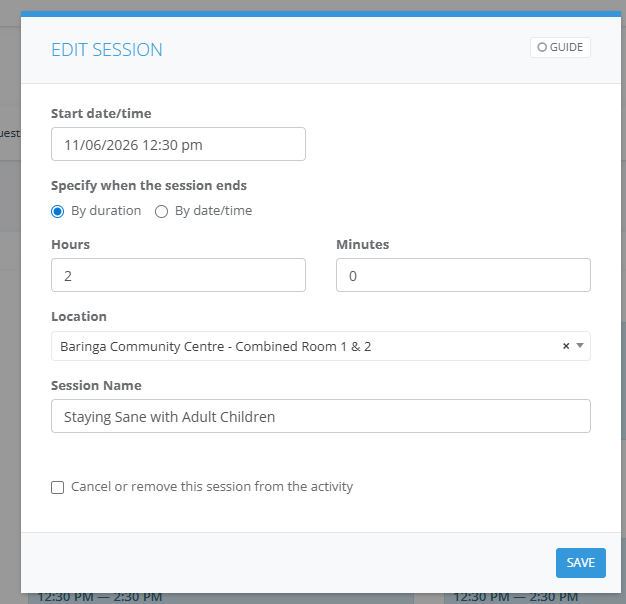
3. In the Edit Session pop-up, locate the Session Name field. Type in your specific title (e.g., Staying Sane with Adult Children or Guest Speaker: Jane Doe). Click Save
Step 2: Configure Booking Settings
To allow attendees to select and pay for these specific sessions individually:
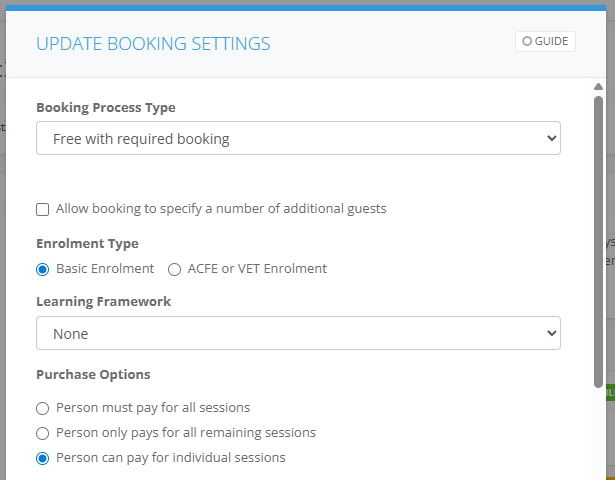
1. Go to the Settings tab and find the Booking Settings pane select Edit section.
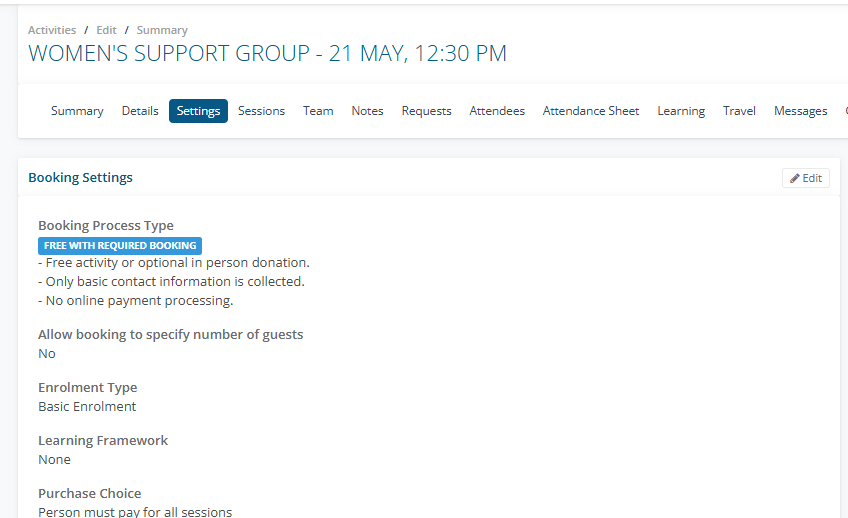
2. Under Purchase Options, select Person can pay for individual sessions. Save your changes.
Step 3: Preview the Attendee Experience
It is best practice to verify how these names appear to your community before going live.
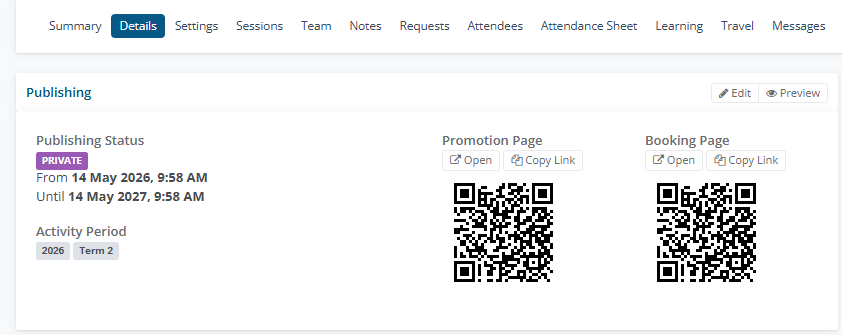
1. Go to the Details tab. In the Publishing section, click Open next to the Promotion Page link.
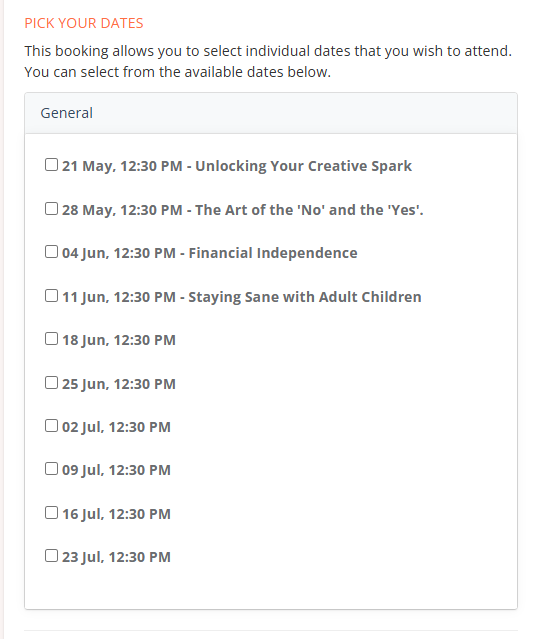
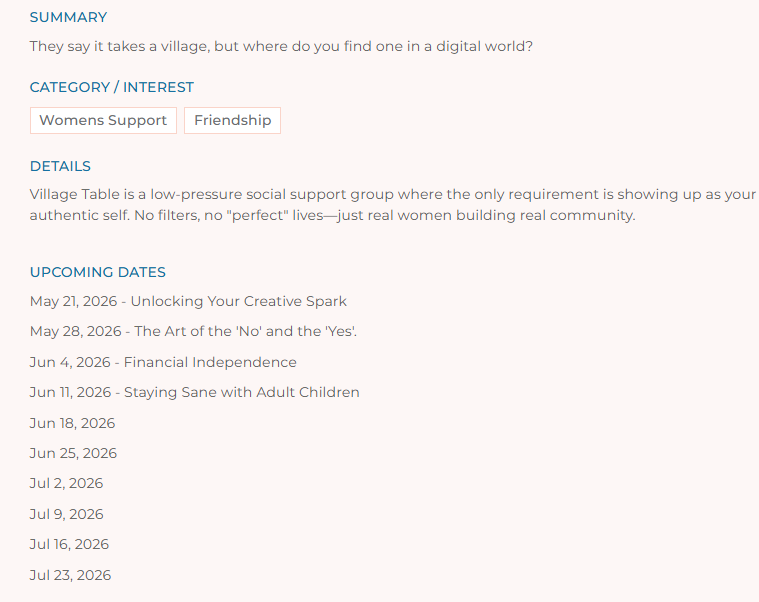
2. Activity Description: Scroll to the Upcoming Dates section. You will now see the Session Name appearing next to the date.
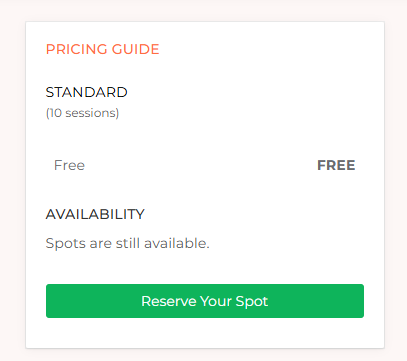
3. Click Reserve Your Spot to view the Booking Page.
4. Pick Your Dates: In this section, attendees can now see the specific names for each date and check the boxes for the sessions they wish to join.